Best Wood Flooring Installation Practices for Metro Vancouver
Are you looking to make the most of a flooring installation project? You’ve come to the right place. As the saying goes, “Measure twice, cut once” – which applies here too! We’ll lead you through best practices regarding environmental conditions, subfloors, adhesive application, squeaky noises and more. With our expert guidance, your floors will be beautiful without any surprises, so you can rest assured that your investment is sound.
Key Takeaways
- Following manufacturer instructions for environmental control and humidity control.
- Properly cleaning and preparing the subfloor before installation.
- Addressing common problems such as squeaking noises with appropriate solutions.
- Applying adhesive correctly by following manufacturer instructions and testing moisture levels.
Importance of Environmental Conditions and Humidity Control
Installing flooring is essential to ensure environmental conditions and humidity levels are controlled. Otherwise, it won’t last. Following manufacturer instructions is an important first step in maintaining proper environmental control throughout the installation. Having the right tools and using quality materials are key to successful installation. Regular maintenance is necessary when heating systems are used to prevent excessive humidity buildup in enclosed areas, which can lead to buckling or other damage. Moisture testing should be done before installation and at certain intervals.
Proper ventilation helps reduce moisture levels in rooms without windows, such as basements or bathrooms, where there may be a higher risk of condensation on walls, floors, and ceilings due to temperature fluctuations. If possible, use dehumidifiers or air-conditioners with built-in humidifiers to maintain stable humidity levels throughout the entire installation period. Regularly checking for leaks around windows and doors will help keep the area dry while protecting your flooring investment from water damage.
Using a combination of correct tools, materials, environmental controls, and regular maintenance checks will ensure that your flooring looks great for years afterwards–and that it lasts just as long! Considering all these factors is critical for achieving best practices regarding flooring installation so you can enjoy your investment for years to come.
Importance of Subfloor for Wood Floor Installation
Ensuring your subfloor is properly prepped is essential for a successful wood floor installation. If you don’t take the necessary steps to prepare your subfloor, you could have an uneven and unsatisfactory finish. A quality subfloor will provide the best foundation for your new flooring, so it’s important to pay attention to this step in the process. To do this, you’ll need to understand what cleaning methods and tools are needed, as well as proper layout considerations and installation techniques.
When preparing the subfloor, ensure all surfaces are clean and free from dirt or debris that might interfere with adhesion or cause issues down the line. You should also check for any existing damage like warping, cracks or water damage that can impact how well your new floor will adhere and perform over time. Once everything is cleaned up, use special tools such as trowels or scrapers to remove any remaining residue before moving on to the next preparation stage.
Layout considerations should be considered when installing wood floors on a subfloor. Make sure there’s sufficient space between boards so they won’t rub together when walked on or expand too much as humidity levels change over time. It’s also essential to make sure that boards are installed by local building codes for moisture resistance and structural stability requirements; failure to do this could lead to problems later on, such as buckling or warping due to shifting temperatures or moisture levels in the environment.
Squeaks in wood floors can be an annoying problem, but fortunately it is one that can often be fixed. One of the most important steps for avoiding squeaks is proper customer preparation and underlayment selection. Ensuring adequate support before installation is key to preventing squeaky flooring problems. After installation, making sure the adhesive has properly cured and taking care to maintain your floor can also help reduce the likelihood of any squeaking noises.
| Site Preparation |
Underlayment Selection |
Adhesive Curing |
| Remove old floors completely
Inspect subfloor
Clean & dry subfloor
Correct moisture levels
Fill holes/cracks in the subfloor |
Choose the appropriate type of underlayment
Choose the appropriate thickness of underlayment
Ensure proper adhesion between layers |
Follow manufacturer instructions
Allow time for the curing process
Check bonds for full adhesion |
Importance of Proper Adhesive Application for Glued Wood Floors
Applying the adhesive correctly is essential for avoiding squeaks in glued wood floors. Planning ahead is critical; properly preparing the subfloor, selecting appropriate trim and adhesive for the job, and testing for moisture before beginning can help ensure a successful installation.
It’s important to check the manufacturer’s instructions regarding the type of adhesive to use with each flooring product. There should also be ample time to acclimate the wood and adhesive to room temperature before application. Knowing which type of glue works best will depend on whether there’s an existing subfloor or if it’s being installed over concrete.
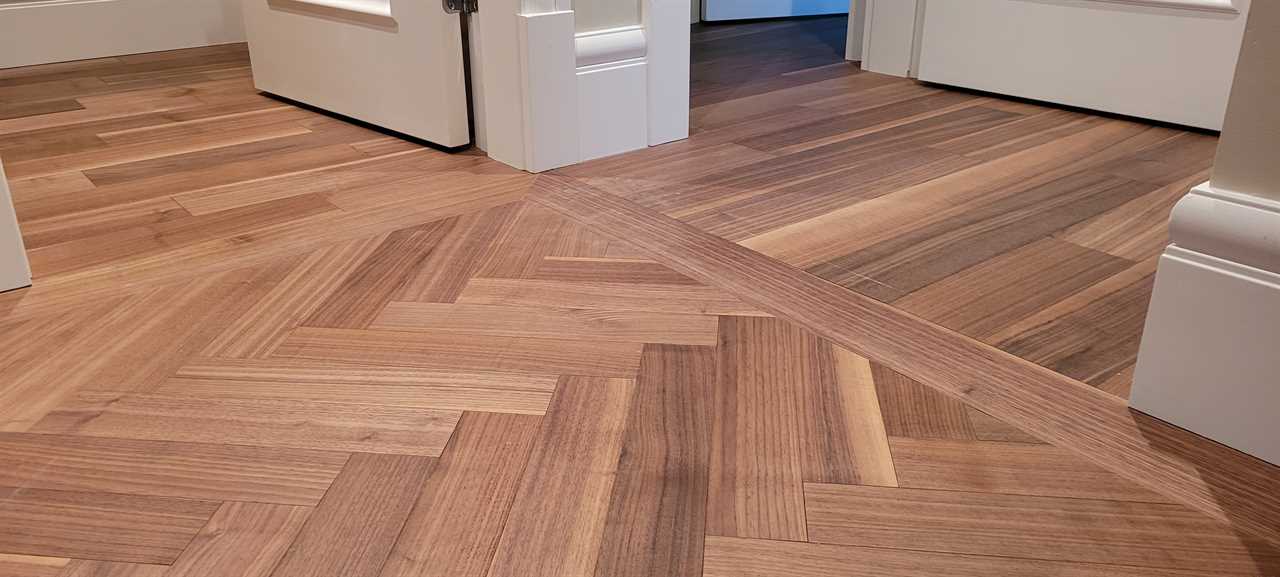
When installing over a subfloor, preparation must include removing any existing flooring material, checking for levelness, and ensuring it is clean and dry before applying any adhesive. For installations over concrete, it is especially important to test moisture levels before installation as this could cause adhesion issues. When installing, use a vapour barrier between the concrete surface and the glue layer.
Once everything has been properly prepared, apply an even coating of adhesive across the entire surface using either a trowel or roller according to manufacturer instructions (depending on the glue you are using). Any excess should be wiped away immediately after spreading with either a damp cloth or sponge mop – depending on how much glue was applied initially – as this will prevent bubbling up later when drying occurs. Pay attention so the adhesive leaves no area untouched during the process.
Using proper installation practices when gluing down wood floors will reduce potential problems such as squeaking and provide greater stability over time due to its increased strength compared to traditional nail-down methods. Taking appropriate steps like planning, prepping surfaces thoroughly, selecting appropriate products/tools according to manufacturers’ instructions, and testing for moisture levels where necessary – all play an essential role in preventing future issues from occurring after the installation has finished!
Tips for Managing Client Expectations and Flooring Accessories
Setting realistic expectations and understanding the need for flooring accessories is key to a successful project. When you’re preparing the surface, it’s important to measure the area and make sure you have enough material to cover everything. Trimming boards can be difficult if they don’t fit properly, so it’s important to take your time. Protecting the edges with tape or padding will ensure that nothing damages the new flooring as it’s installed. Sealing seams with sealant should be done carefully, as it’ll help keep water out of any gaps between planks.
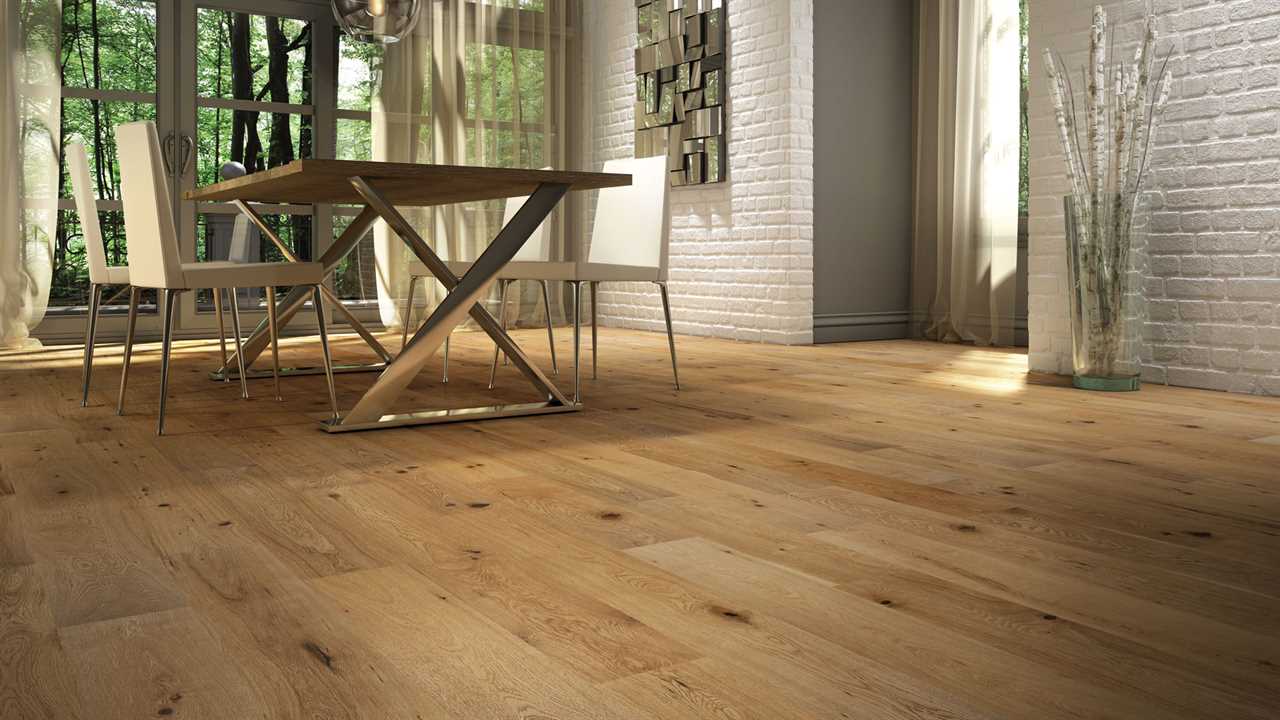
It’s also necessary to manage client expectations when installing flooring. Ensure they understand how long the process may take and discuss any additional materials needed for installation, such as nails, screws, and adhesives. If their budget allows for extra items like trowels or spacers, explain why those would be beneficial for an overall better result of their new floors. Show them examples of similar jobs you’ve done that showcase your skill level and craftsmanship to give them peace of mind about your workmanship quality.
When talking about accessories like shoe mouldings or baseboards, let them know what kind of finish they’d like to achieve; this will help determine which type is best suited for their space and decor style while providing an aesthetically pleasing look once complete. Finally, let them know whether any special cleaning products are needed after installation- this way, they can feel confident maintaining their new floors over time without worrying about damaging them unintentionally due to lack of knowledge on proper maintenance techniques.
Choose Canadian Home Style for your Vancouver flooring projects.
Canadian Home Style is your family-owned and operated flooring retailer with a showroom in North Vancouver, BC. We provide full-service commercial and residential flooring solutions across the Lower Mainland with an extended warranty. We are proud BC Floor Covering Association (BCFCA) and the National Wood Flooring Association (NWFA) members. In addition, we have won the
Consumer’s Choice Awards back-to-back in 2021, 2022, and 2023 for our commitment to business excellence. We are considered the highest-rated
flooring experts in Metro Vancouver. We pride ourselves on holding the highest standards in the flooring industry. We have a strict policy of “not selling or displaying any products we wouldn’t want in our homes to uphold our high standards.” Before we select a product to feature, we carefully assess product quality, off-gassing, warranties, and responsible sourcing.
Book now to visit our North Vancouver flooring showroom; we can help you choose the perfect floor for your home or business.
Our mission is to help homeowners create beautiful homes that reflect their lifestyles while reducing energy consumption and conserving resources. We provide our clients with innovative products, services and education. Our vision is to become Canada’s leading
sustainable flooring solutions provider. Our values include integrity, respect, honesty and transparency. These principles guide us as we strive to provide outstanding customer service.
We believe that our success depends on the success of our clients and their customers. We work hard to ensure our clients get the most out of their investments. Our team consists of highly skilled professionals who are experts in their field. They have years of experience working together and know what works and what doesn’t. They understand how to solve problems quickly and efficiently. We are committed to providing excellent customer service. We listen carefully to our client’s concerns and suggestions. We take these into account when planning and executing projects. We always strive to exceed expectations.
Services We Offer:
Main Areas of Service in British Columbia:
Frequently Asked Questions
What is engineered hard flooring?
Engineered wood is a product that contains a solid veneer of hardwood over an engineered base. Engineered core constructions can include layers of wood, lumber core, and composite materials. Engineered wood has a higher dimensional stability than solid wood, and can handle the modern design’s winder width. Engineered hardwood comes in many styles and can be used in many ways. This allows you to customize your installation. Engineered hardwood flooring comes in many different widths, colors, and styles. Wide plank oak floors are the most popular engineered hardwood floor in Metro Vancouver.
What Type of Hardwood Flooring Should I Choose? Which is better: Engineered, solid or both?
It depends on a variety of variables.
Budget – First is budget, and as mentioned above, engineered hardwood flooring can typically be more expensive than your average solid hardwood. This is dependent on the type and price of the wood.
Installation -Engineered hardwood floors can be placed anywhere. But, they are best suited for high humidity and moisture levels such as basements. This is because engineered wood and solid flooring can’t handle temperature changes.
StyleIf the latest flooring trends are important to you and you’re looking to modernize your house, you can choose engineered wood flooring. Solid hardwood widths can not exceed 5 feet. This is strictly due to the overall strength of the planks. A plank of hardwood that exceeds 5” in width will not be suitable for flooring. You can however use engineered hardwood construction to make wider planks. Hardwood industry manufacturers offer boards measuring up to 9″ in width and 96 in length.
How much does wood flooring material cost?
It is important to research wood flooring before you make a purchase. There are many things that can influence how much wood flooring will cost. Here is a list of things to keep in mind.
- Wood finishes: Anti-scratch top coat This is especially true for wood floors. It’s not enough to buy wood floors. This will determine the floor’s water and scratch resistance capabilities. Manufacturers go the extra mile to make their own patented finish. The ideal finish will protect hardwood from all types of stains and preserve its natural beauty.
- Country of Origin (where product was made)You can see that the cost of hardwood planks is affected by where they are manufactured. Part of the cost of labour is involved, and the rest are based on standards for quality control. But remember, in flooring, you certainly get what you pay for. It’s no surprise that Canada has a very strong hardwood manufacturing industry. Canada is a great place to source hardwood flooring. A rule of thumb is to avoid purchasing hardwood flooring made in low-wage countries such as China. These products may be less durable and not have the right finishes to protect them against everyday wear and off-gassing.
- Construction of Hardwood FloorYou may not be aware, however, that not all hardwood floors are constructed the same. There are two main categories of hardwood flooring:
Hardwood – Hardwood flooring is made of one piece of hardwood and is often cheaper than an engineered alternative. Because solid wood requires less labour than engineered hardwood, this is why it’s more affordable. Solid hardwood isn’t as stable as engineered hardwood flooring in terms of humidity. Contrary to popular belief, solid hardwood flooring is no better than Engineered hardwood flooring. This is because more wood layers means more stability. Because of this, as the time goes by, any expansion or contract of the wood will be absorbed between itself and not affect overall quality.
Engineered Wood – The engineered hardwood construction is specifically designed to be more durable in its environment. This type of wood flooring uses at least two types of wood to ensure stability. The engineered core is made from many different wood species. As you can see, each one comes with a different price tag. How the core is constructed and which species of wood are used will impact the price of your hardwood. For instance, the Baltic Birch of Russia is more expensive than Poplar; these are two common wood species used for core construction. Products that include Baltic Birch rather than Poplar in the engineered core of their products are generally more expensive.
- Layer on or wear lamellaThis excludes solid hardwood. However the price of engineered flooring can be significantly affected by the thicknesses of the wear layers. Lamella refers to the wear layer. It is simply the hardwood thickness that is above the core. There are a variety of thicknesses for the wear layer, but they can range between 1 and 6mm. The thicker the wear layer is, the longer you can get your flooring to last. This is because it dramatically enhances your flooring’s durability and repairability.
- Grading of the HardwoodYou’re likely to know that every wood tree is unique. This is why hardwood flooring planks are graded after it has been harvested.
Grade AB (Prime Quality) – This grade is the best looking and is usually taken from within the timber log. The appearance of knots and colour variations are minimal.
Grade ABC – Lower AB is “selectgrade” and contains slightly more knots. There are also more colour variations between planks.
Grade ABSD (Natural Grade –This Grade has more knots and can stretch out to approximately 30mm in length. It also has a greater amount of sap.
Simply stated, the cost of planks will be affected by how clean the hardwood is from knots.
- Species of HardwoodThere are many types of wood available for flooring. Each species has its distinctive look and benefits. The best way to decide which one is right for you is to consider your style preference and intended application. Prices can vary greatly between different types of wood. Santos Mahogany and American Walnut for example will be more costly than the traditional red oak or maple.
- Width and Length of the boardsYou can achieve a natural, sleeker look by using longer and wider hardwood planks to make your space feel larger. Flooring can be expensive if the boards are too long or too wide. Manufacturers will use more wood to make wider planks and waste less wood. The flooring’s width or length will have a significant impact on the cost of your hardwood flooring.
What floor type is waterproof?
The two most popular waterproof flooring options are luxury vinyl flooring, and tiles. Waterproof flooring works in every room, including bathrooms, kitchens, laundry rooms, and basements. Waterproof flooring is essential if you have children, pets, or live near a lot or precipitation.
Statistics
- To figure out how much your floor will cost, calculate the room’s square footage, then add 5 to 10 percent for cuts and waste. (thisoldhouse.com)
External Links
How To
How to Remove Scratches from Hardwood Floors
Scratches are common in houses with wood flooring. They occur when you drag your furniture across the flooring without protecting the legs. It’s worth mentioning that most flooring manufacturers offer touch-up kits you can purchase when you’re ordering your hardwood flooring. However, if you don’t have a touchup pen matching your hardwood, you can follow these steps to make your own.
To fill in deep scratches, you can use a color-coordinating filler wood to fill it. You can then use a small amount of stain marker to fill in the area. To fill in the area, you can use a polish that matches the color of your floors or a little bit of wax. For a quick fix you can also use crayons to match the flooring color. Mixing a few polishes can create your customized color.
The best way to remove scratches in hardwood floors is to fix the issue. That means being careful with your furniture and ensuring that you have something to protect your floors from scratches. Avoid wearing heels on hardwood floors. These can cause damage. Pet nails can scratch hardwood floors so make sure to trim them as often as possible.
Here are some tips to prevent scratches on hardwood floors.
- You can prevent dirt and grime from being tracked into your home by installing mats or rugs at every entrance.
- Protect your floors from scratches by furniture by placing mats or rugs right in front of high-traffic areas (such as sofas and couches).
- Furniture coasters and glides can be used to protect your furniture from scratches during transport.
- You should be careful when lifting heavy furniture. It can cause damage to the floor. Do not drag heavy furniture across the floor.
Resources: