Maintaining your laundry room plumbing is essential to keep it running efficiently. You should be aware that the average washing machine uses approximately 41 gallons of water per load. A family of four, for example, might do two loads of laundry a day, which would cycle 82 gallons of water daily. While you can’t prevent problems from occurring, basic maintenance and a few creative tricks can ensure your laundry room plumbing is operating as efficiently as possible.
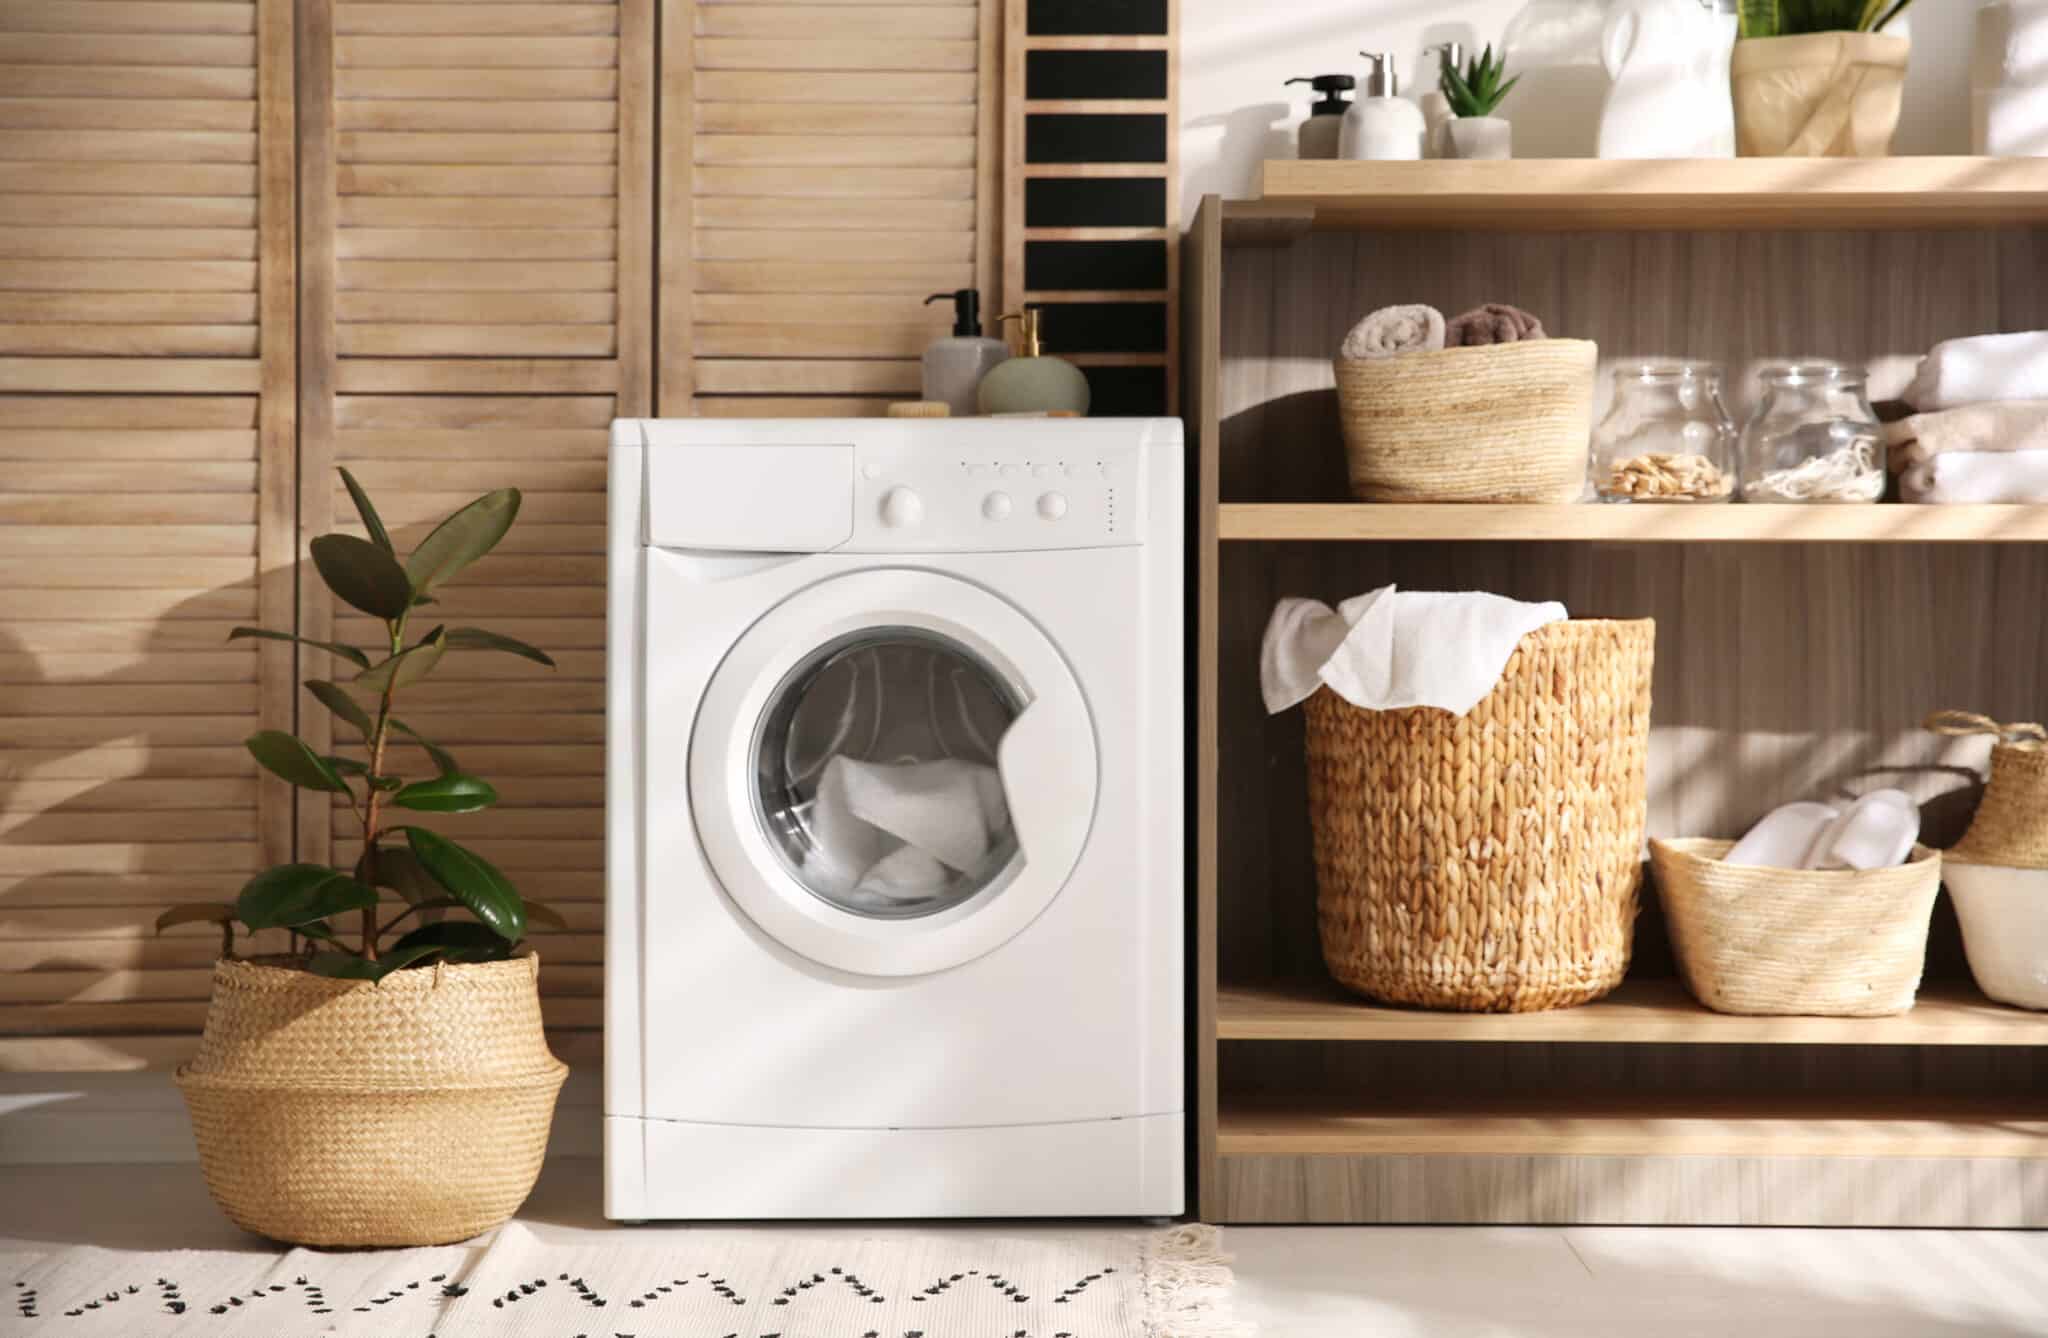
Maintenance of laundry room plumbing
Most plumbing problems in the laundry room are preventable, and a quick visual inspection can prevent costly repairs later. You can check for leaks in the supply line, which runs from the faucet to the washing machine. Look for cracks or blisters. Also, pay attention to the connection between the faucet and the washing machine and tighten the hose. If you’re unable to perform the repair yourself, call a plumber. Hiring a professional plumber may be cheaper than fixing the problem yourself.
To avoid clogs and overflow, clean the drains regularly. In addition, make sure to check the faucet aerators. These nozzles should be cleaned with vinegar to prevent water deposits from clogging them. Consider installing a flood alarm if you’re concerned that your drains might have a bad odor. Another way to improve the efficiency of your washer is to replace it with a front-load washer. You can also upgrade to a new appliance model to save water.
Despite the importance of a working washer, maintenance of the plumbing in the laundry room often goes unnoticed. Regularly inspect exposed pipes and install water alarms. Check the rubber hoses on washing machines for cracks and bulges. Additionally, check exposed pipes for leaks. Finally, install a strainer to collect debris before the water runs. If you have a strainer washing machine, ensure the hoses are secured properly.
Installation of floor drains
Floor drains are a common feature of laundry rooms, but some homeowners don’t realize they can install them themselves. Installing them yourself will require cutting a hole in the floor and removing some tile or grout to make way for the drain. It’s important to follow instructions carefully to avoid damage to your floors. If you’re unsure of how to install floor drains, you can read these tips for a trouble-free installation.
Before you install floor drains, you’ll want to decide what materials will go into them. Then, determine if you’ll connect the drain to the sewer or septic system. You can simply lay out the drain pipes if you’re pouring a new floor. If you’re working with an existing floor, you’ll have to break through the concrete and drill holes to connect the floor drain to the plumbing. This is a labor-intensive process, and hiring a professional to do it for you can be more expensive.
Installing a floor drain requires some basic plumbing knowledge. First, ensure that the laundry room’s plumbing layout is compatible with the drain. You should have a vent stack above the floor level. If you’re planning to install a floor drain, you should connect it with a sanitary tee. After you’ve installed the floor drain, it’s time to install the P-trap.
Installation of vent pipe
Ideally, you should install your vent pipe in the ceiling of your laundry room, about six inches above the overflow level of your sink. Then, you should carefully place your vent pipe in such a way that it slopes downward toward the drain. The drain pipe should be positioned at 16 inches above the floor. The outlet box in the laundry room should be about 42 inches above the floor, and the vent pipe should be placed about six inches above the floor.
Remove the drain and the gas dryer from the laundry room to install the vent pipe. You can also call a plumber to help you with this. To install the pipe, you can use a hacksaw or a reciprocating saw with a metal-cutting blade. Cut the drain pipe above the bottom wall plate and the vent pipe at 50 inches from the floor. Then, use the appropriate transition coupling to join the pipe to the vent stack.
Besides preventing overflow, venting can also help prevent sewer gas inhalation. Typically, sewers are shared by multiple homes, so venting is essential to prevent clogging and foul odors. In addition, the vent pipe should be at least 24 inches tall and installed properly to ensure that it creates controllable air pressure. A vent can last up to 12 years if properly installed and cared for during use.
Cleaning of floor drains
If you’ve noticed foul odors from your floor drains, cleaning it may be the solution. Floor drains have a U-shaped P-trap pipe that’s supposed to hold water to prevent sewer gases from coming up through the drain. If you notice a foul smell coming from the floor drain, pour a bucket of water into the drain to soak up any sewer gas. Once the water has evaporated, check the drain’s function to ensure that there are no clogs.
While floor drains are an important part of laundry room plumbing, they often go overlooked. Keeping them clean will prevent costly water damage and flooding. Listed below are some tips on how to clean floor drains in laundry rooms:
Ensure that the P-trap is catching all the debris from the floor. A P-trap is a barrier between the floor drain and the sewer pipes, preventing foul odors from entering the house. In addition, a P-trap keeps the water inside the drain clean and prevents any sewer gases from entering the house. The P-trap should be cleaned frequently when the drain is clogged with sediment.
To ensure that the floor drain is clear of debris, check the pipe for overflowing water and remove any obstruction. A partial obstruction will result in water that is slow to drain. Use a plunger to clear out the debris. If you have no access to a plunger, you can also try a baking soda and vinegar solution to help remove the blockage. If that fails to work, call a Cincinnati plumber to fix it.
Insulation of walls
To install new laundry room plumbing, the first step is to determine the location of the pipes. The walls of a laundry room are typically 2 x 4 framed. The studs are 16 inches on center and must be at least 2 inches apart. The IRC allows for water distribution and drain/waste/vent pipes in exterior walls but requires special protection from freezing. To prevent freezing, a layer of insulation must be installed between the pipes and exterior wall cavity or heated interior.
For walls, a gypsum wallboard is an effective option. You can also use fiberglass batts to fill in gaps between the wall and floor joists. Another good option is spray-in insulation. It is easy to install and requires no drywall removal. This insulation is effective in preventing sound from leaking into adjoining rooms. To complete the project, you can add a second layer of insulation if necessary.
Another option for wall insulation is spraying a layer of foam insulation into the walls. To apply insulation foam, angle the nozzle of the sprayer downward. After filling the wall cavity, partially block the hole around the sprayer. When done, pull the trigger to start feeding the foam. Then, let it dry. After the foam has completely hardened, you can then remove the insulation foam. Then, apply a coat of paint or wallpaper over the top.
Repairing clogged drains
A clogged drain in a laundry room can be a nuisance. Here are a few ways to fix clogged drains in laundry rooms. First, remove any additional drain hose from the pipes. Most clogs are in this part. Use a drain hose snake to clear the clog. This tool latches onto the clog and twists it out of the pipe.
If your water is hard, it will create a clog in your sink. This will be worsened if you use a whole-house water softener. In addition, the detergent in your machine can coat the pipes and cause a clog. Additionally, the lint and fabric buildup can make the drain clogged. However, there are some simple ways to solve this problem.
One way to fix a clogged drain in a laundry room is to use enzymes. Enzymes work best when combined with hot water. The enzymes need time to work, so be patient with the process. Sometimes, the enzymes won’t clear the clog, but you should try using them in the meantime. Even though enzymes can help with clogs, they may not be enough to clear your entire drain.
A simple plunger can help clear a clog. Simply lower the plunger, and the drain will seal. You can then use a pipe snake to pull out the clog. This u-shaped pipe under the sink can help you reach the clog and break it apart. If the problem persists, call a plumber to come to assess the problem and recommend the best course of action.
At Canadian Home Style, we’re Metro Vancouver’s go-to choice for kitchen design excellence. We’re proud to have been honored with the Consumers’ Choice Award for four years running, from 2021 to 2024, for our bespoke kitchens in North Vancouver. More than just a cabinet company, we specialize in crafting contemporary, practical kitchen designs that stand the test of time. We invite you to reach out for your upcoming kitchen remodel – we’re excited to bring your unique vision and ideas to life. For us, the journey is just as important as the beautiful final product.
Our mission is to help homeowners create beautiful homes that reflect their lifestyles while reducing energy consumption and conserving resources. We do this by providing our clients with innovative products, services and education. We aim to become Canada’s leading sustainable kitchen design and custom cabinetry solutions provider. Our values include integrity, respect, honesty and transparency. These principles guide us as we strive to provide outstanding customer service.
We believe that our success depends on the success of our clients and their customers. We work hard to ensure our clients get the most out of their investments. Our team consists of highly skilled professionals who are experts in their field. They have years of experience working together and know what works and what doesn’t. They understand how to solve problems quickly and efficiently. We are committed to providing excellent customer service. We listen carefully to our client’s concerns and suggestions. We take these into account when planning and executing projects. We always strive to exceed expectations.
Services We Offer:
Main Areas of Service in British Columbia:
- Vancouver
- North Vancouver
- West Vancouver
- Burnaby
- Coquitlam
- Squamish
- Whistler
Did you miss our previous article…
https://canadianhomestyle.com/kitchen-renovation/craftsman-kitchens/