Installing Hardwood Flooring Over Concrete
Imagine the comforting touch of sleek, warm hardwood flooring under your feet, contrasting the cold, hard concrete. You may be wondering if it’s possible to install hardwood over concrete. The answer is yes, but it’s not as simple as laying planks on the concrete and calling it a day. There are several important considerations to remember, such as moisture levels, hardwood type, and concrete grade. So, before you embark on this project, let’s delve into the complexities and considerations that will help you successfully master the task.
Let’s explore the feasibility of installing hardwood flooring over concrete. While traditionally, hardwood is installed over a plywood subfloor, advancements in technology and installation techniques have made it possible to install hardwood directly over concrete. This can be achieved through glue-down or floating installations.
Moisture is a crucial factor to consider when installing hardwood over concrete. Concrete retains moisture, leading to warping and damage to the hardwood. Ensuring the concrete is dry and sealed adequately before installing hardwood is essential. Moisture testing should be conducted to determine the concrete’s moisture content and identify any potential moisture issues. A moisture barrier or vapour retarder is recommended to prevent moisture migration from the concrete to the hardwood.
The type of hardwood you choose is also necessary when installing over concrete. Engineered hardwood is popular for concrete installations due to its dimensional stability. Engineered hardwood consists of multiple layers of wood, with a top layer of hardwood veneer. This construction allows for better resistance to moisture and temperature fluctuations compared to solid hardwood.
The grade of the concrete is another consideration to keep in mind. For successful hardwood installation, the concrete should be flat, level, and free of any cracks or irregularities. If the concrete is not in optimal condition, it may require levelling or repairs before the hardwood can be installed. It is essential to consult with a professional to assess the condition of the concrete and determine the necessary preparations.
Key Takeaways
- Feasibility of Hardwood Over Concrete: It is possible to install hardwood directly over concrete using glue-down or floating installations, though special considerations are needed.
- Moisture Considerations: Concrete tends to retain moisture, so it’s essential to ensure the concrete is dry and sealed adequately before installing hardwood. Moisture testing and barriers are recommended.
- Choosing the Right Hardwood: Engineered hardwood is preferred for concrete installations due to its stability and moisture resistance.
- Concrete Grade Considerations: For successful installation, the concrete should be flat, level, and free of cracks or irregularities. Preparatory levelling or repairs might be necessary.
- Subfloor Preparation: Preparing the subfloor involves cleaning the concrete surface and applying a moisture barrier to protect against water damage.
- Installation Techniques: On concrete subfloors, we normally either float the wood or glue it down. It depends on the application. On radiant heating systems, the glue-down method is preferred. The floating method, however, can lead to better soundproofing and a quicker and more economical installation process.
- Maintenance Tips: Regular cleaning, moisture management, use of appropriate cleaners, rugs and mats in high-traffic areas, furniture pads, climate control, and periodic refinishing are essential for maintaining hardwood floors on concrete.
- Professional Expertise: Canadian Home Style offers award-winning, tailored hardwood flooring solutions in North Vancouver, emphasizing quality, sustainability, and customer satisfaction.
Understanding the Feasibility of Hardwood Over Concrete
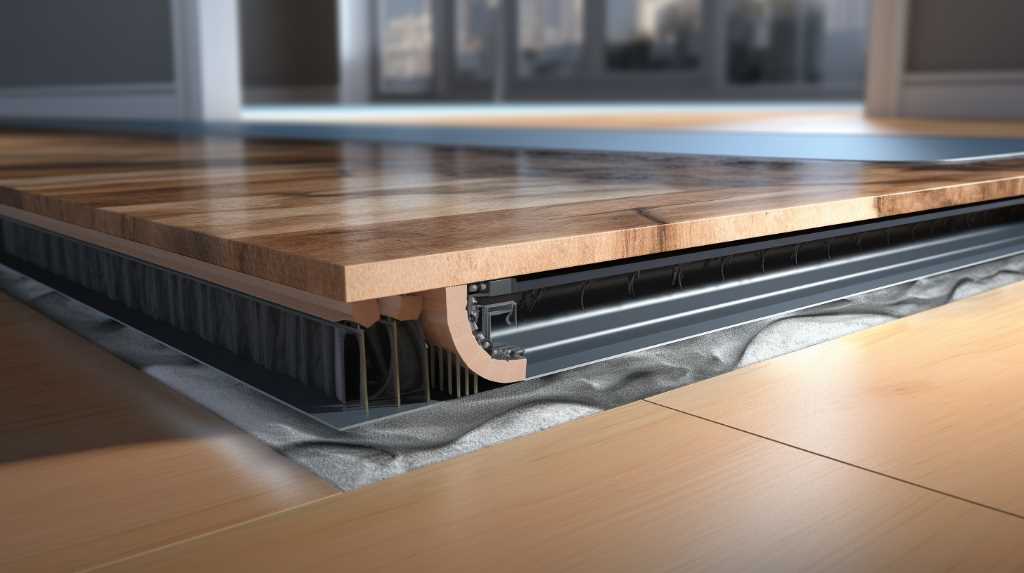
Installing hardwood over a concrete slab requires a thorough understanding of the nuances of concrete subfloors. This knowledge is crucial for successfully assessing the feasibility and potential challenges of the project. This guide will delve into the critical aspects of concrete subfloors and provide valuable insights to help you navigate this process.
One of the crucial factors to consider when working with concrete subfloors is the grade level. Determining the position of the concrete slab relative to the ground level is essential. If the slab is at or below grade, you may encounter moisture issues that can cause warping or damage to the hardwood flooring. Therefore, addressing any humidity or drainage problems before installation is crucial. Additionally, the age of the concrete slab plays a significant role. Newly poured concrete requires 6 to 8 weeks to cure fully. Installing hardwood flooring too soon can lead to moisture-related damage in the future.
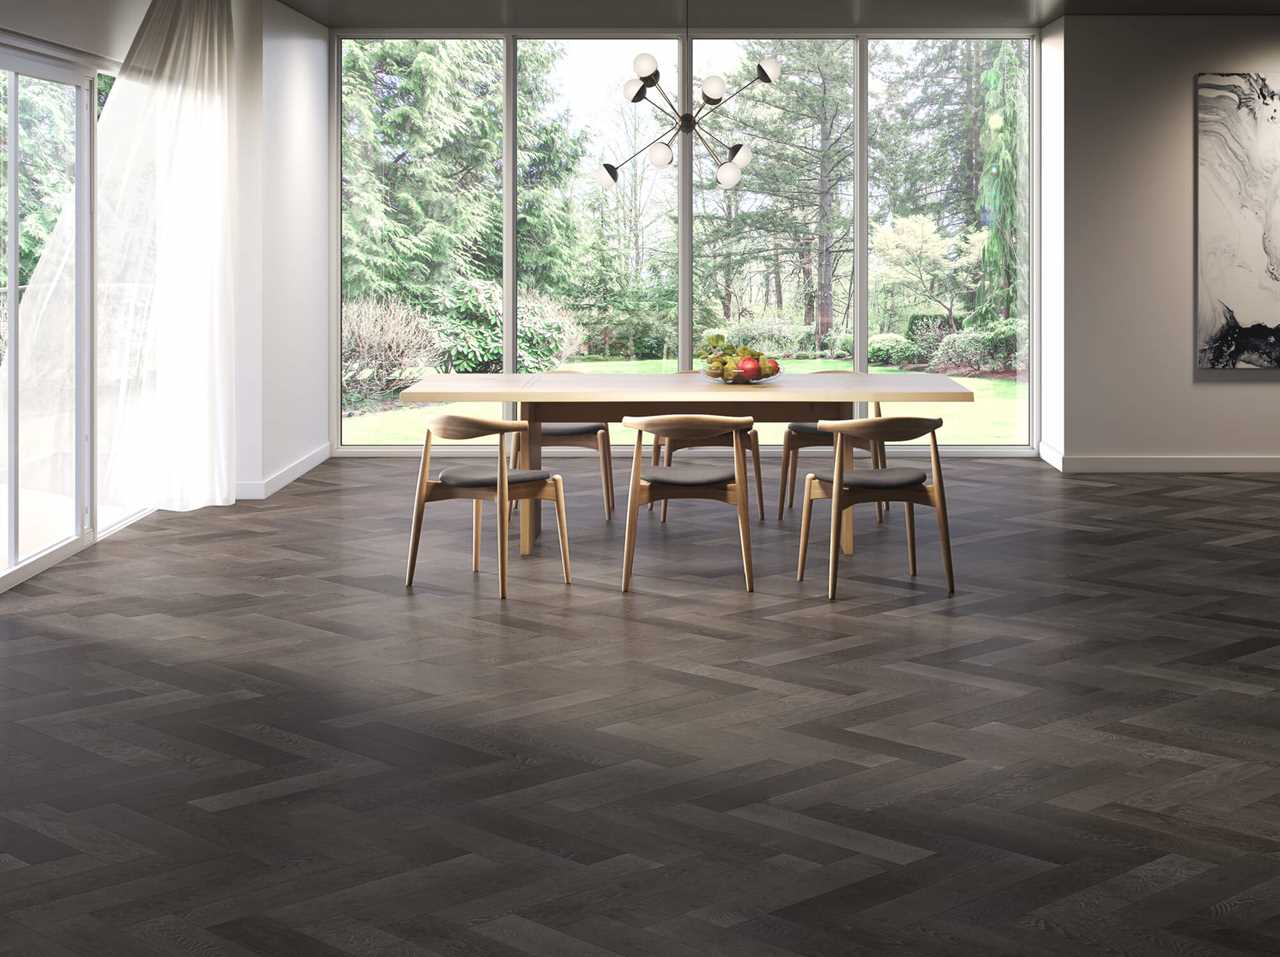
Proper preparation of the subfloor is another critical aspect of understanding concrete subfloors. It is essential to ensure the slab is smooth, clean, and dry before installing the hardwood flooring. Consulting with experts in the field can be immensely helpful in tackling potential problems. These professionals can guide you in choosing the right type of hardwood that offers moisture resistance and durability, ensuring a long-lasting and visually appealing result.
Understanding concrete subfloors goes beyond just knowing the material. It involves comprehending its relationship to hardwood flooring installation, moisture content, and readiness for installation. By acquiring this knowledge, you can avoid pitfalls and ensure a successful hardwood flooring installation over a concrete slab.
Assessing Your Flooring Base: Concrete Considerations
Concrete, a robust and ubiquitous base, can be a solid foundation for hardwood flooring. However, it’s crucial to evaluate its condition first. Check for moisture levels, as excessive dampness can damage wood. A simple moisture test, using a plastic sheet taped to the concrete for 24 hours, reveals any condensation issues. Ensure the concrete is level, as uneven surfaces lead to creaks and instability in hardwood floors. It’s also essential to consider the age of the concrete; newer slabs require more time to settle and cure before hardwood installation.
The Basics of Hardwood Flooring Installation on Concrete
Installing hardwood flooring over concrete involves several key steps. Firstly, choose an engineered hardwood for better moisture resistance and stability. Begin by applying a moisture barrier to protect the wood. Next, lay a subflooring – typically plywood or a floating subfloor system. This provides a cushion between the concrete and hardwood, improving insulation and reducing noise. Lastly, the hardwood planks are installed, glued directly to the concrete or floated above the subfloor. Each step is pivotal for a successful, long-lasting installation.

Pros and Cons of Hardwood Flooring on Concrete
Hardwood flooring on concrete offers a timeless and elegant look that can enhance the beauty of any space. The natural grain and rich hardwood colours create a warm and inviting atmosphere. Hardwood floors are also durable and withstand heavy foot traffic, making them a practical choice for homes and commercial spaces. However, there are some drawbacks to consider. Firstly, hardwood flooring can be more expensive than other flooring options. Secondly, installing hardwood on concrete can be a complex and time-consuming process that requires specialized tools and skills. Lastly, hardwood is susceptible to moisture damage, so proper maintenance is essential to prevent warping or cupping. While hardwood flooring on concrete has many benefits, weighing the pros and cons before deciding is essential.
One potential drawback of hardwood flooring on concrete is the initial cost. Hardwood floors tend to be more expensive than other types of flooring, such as carpet or laminate. The installation process can also add to the overall cost, especially if special preparations or subfloor adjustments are needed. However, it is essential to consider that beautiful hardwood flooring is a long-term investment that can increase the value of a property. Therefore, while the upfront cost may be higher, the overall return on investment can be significant.
In addition to the cost, another challenge of installing hardwood flooring on concrete is the complexity of the process. Concrete subfloors require additional preparation, including levelling, moisture testing, and the possible need for a moisture barrier. Furthermore, the installation itself can be labour-intensive and may require the expertise of a professional flooring installer. Homeowners should also be prepared for a longer installation timeline than other flooring options.
While hardwood flooring on concrete has drawbacks, it also offers numerous benefits. One of these is its ability to enhance the aesthetics of a space. Hardwood floors come in various species, colours, and finishes, allowing homeowners to create a customized look that matches their style and decor. Additionally, hardwood flooring is known for its durability. It can withstand the wear and tear of daily life, making it a suitable choice for high-traffic areas. It is essential, however, to choose the right type of hardwood for the space’s specific needs. For example, more challenging wood species may be more suitable for areas with heavy foot traffic.

Advantages of Choosing Hardwood for Concrete Floors
Hardwood floors offer a timeless aesthetic and add value to your home. The beautiful hardwood floors are durable, easy to clean, and versatile in style. On concrete, hardwood brings warmth and elegance to otherwise cold surfaces. It’s an excellent choice for radiant heating systems, distributing heat evenly and efficiently. Moreover, hardwood floors are known for improving indoor air quality, as they don’t trap allergens like carpets.
Potential Challenges and How to Overcome Them
One major challenge of installing hardwood on concrete is moisture. Concrete’s porous nature, in a wood floor installation on a concrete slab, can transfer moisture to wood, causing warping and mould. To combat this, use quality moisture barriers and consider engineered hardwood, which is less susceptible to moisture damage. Another challenge is the hardness of concrete, which can make installation labour-intensive. Hiring professionals ensures a precise and secure installation, safeguarding your investment.
Essential Tools and Materials for Hardwood Installation
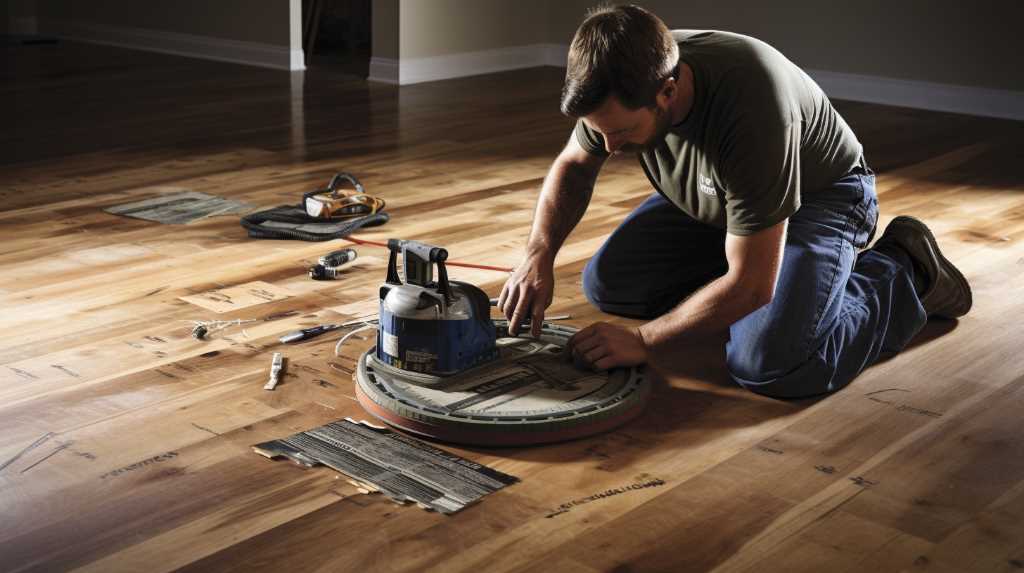
Installing hardwood flooring over concrete can be challenging, but it is feasible with the right tools and materials. One essential tool is a moisture meter, which helps determine if the concrete has excessive moisture that could damage the hardwood. Another crucial tool is a concrete grinder, which smoothens the surface and removes imperfections. Additionally, you will need an adhesive specifically designed for hardwood installation on concrete. It’s also essential to have a quality underlayment to provide a moisture barrier and cushioning for the hardwood. Lastly, don’t forget the safety equipment to protect yourself during installation, such as goggles, gloves, and knee pads.
Proper preparation is critical to achieve a successful hardwood installation on concrete. Before installing the hardwood, the concrete surface should be thoroughly cleaned and free of any debris. It’s also recommended to use a primer to ensure proper adhesion between the concrete and the adhesive. If the concrete has cracks or uneven areas, it should be repaired or levelled using a suitable filler or patching compound. These steps will help create a smooth and solid base for the hardwood flooring.
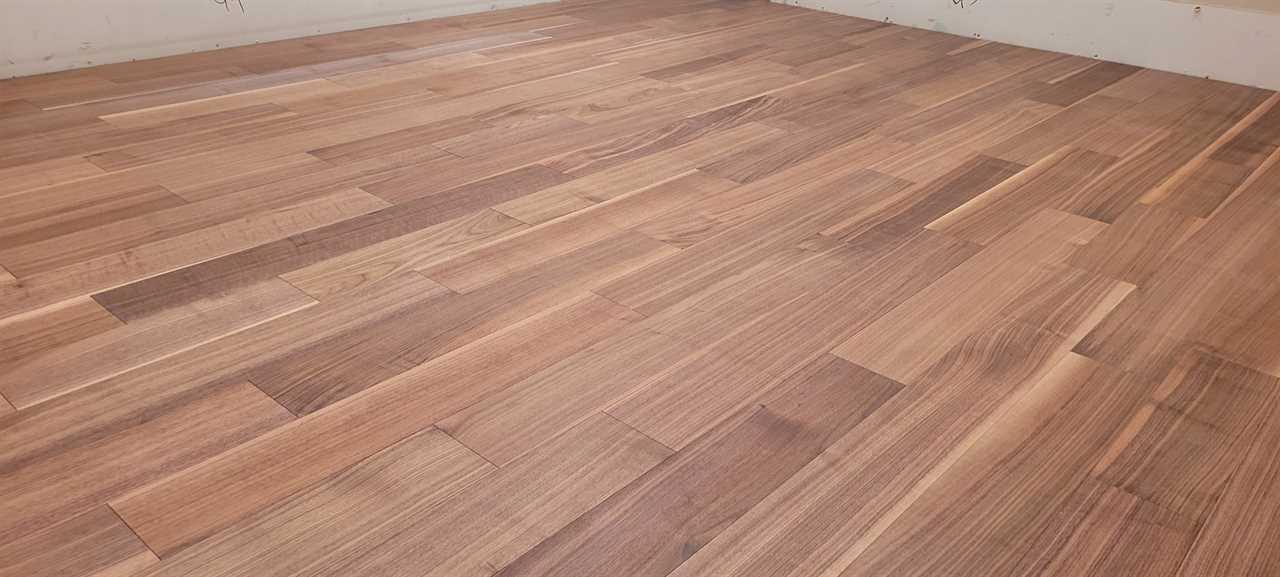
When choosing the right hardwood flooring for installation over concrete, engineered hardwood is the most recommended option. Engineered hardwood consists of multiple layers of natural hardwood bonded together, making it more stable and less prone to moisture-related issues. It also offers a wider variety of styles and finishes than solid hardwood. Furthermore, engineered hardwood can be installed using various methods, including glue-down, floating, or nail-down, providing flexibility based on your preferences and the condition of the concrete.
Proper hardwood flooring acclimation before installation is crucial to minimize the risk of warping or shrinking. The hardwood should be stored in the installation area for at least 48 hours, allowing it to adjust to the temperature and humidity levels of the room. This step helps ensure the hardwood will expand or contract minimally after installation. According to the National Wood Flooring Association, this acclimation period is vital for your hardwood floors’ long-term stability and durability.
Hiring a professional flooring installer is recommended to ensure a long-lasting and visually appealing hardwood installation. Professionals have the expertise and experience to handle any challenges during the process. They can also provide valuable advice on the best installation method, type of hardwood, and proper maintenance techniques. Hiring a professional saves time and effort and guarantees a high-quality result that will enhance the beauty and value of your space.
The Toolkit: What You’ll Need for Successful Installation
Essential tools include a moisture meter, a trowel for adhesive, a saw for cutting planks, and a levelling tool. A quality adhesive is vital for directly glued installations, while a vapour barrier or underlayment is essential for floating floors. Don’t forget personal protective equipment like gloves and safety glasses.

Selecting the Right Hardwood Materials for Concrete Bases
Opt for engineered hardwood, which is designed for concrete bases. It’s constructed in layers, making it more stable and less prone to warping. Choose a thickness that suits your space and a finish that complements your home’s style. When selecting your hardwood, consider factors like foot traffic, sunlight exposure, and overall aesthetics.
Critical Need for Moisture Barriers on Concrete Slabs for Hardwood Flooring
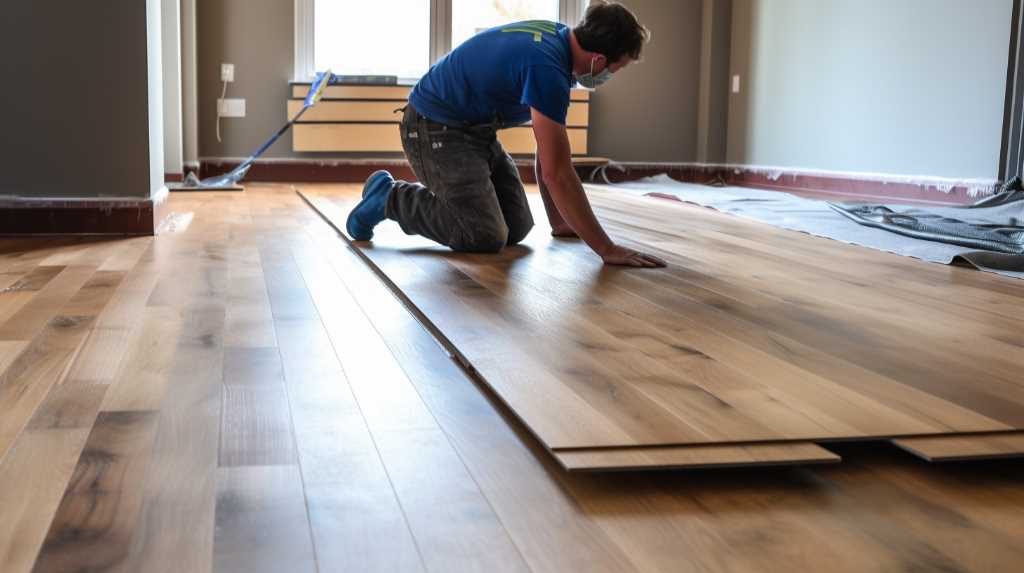
Why is a moisture barrier essential when installing hardwood flooring over concrete? The answer lies in the properties of beautiful hardwood floors and concrete used in installation. Given the porous nature of wood and the potential for moisture seepage from the concrete floor, a moisture barrier plays a crucial role in ensuring the longevity of your hardwood flooring.
A moisture barrier offers several benefits when installing hardwood over concrete:
- Prevents the upward moisture movement from the concrete slab into the hardwood flooring.
- Safeguards the hardwood flooring from warping or buckling due to excess moisture.
- It helps maintain the proper moisture content within the hardwood, preserving its structural integrity.
- Creates a smooth, level surface for the hardwood flooring installation.
- Extends the lifespan of your hardwood flooring by reducing the risk of moisture-related damage.
Without a moisture barrier, your hardwood flooring is vulnerable to the moisture present in concrete. This can lead to issues like swelling, deformation, and even wood rot. Therefore, it’s crucial to install a moisture barrier correctly when laying hardwood over a concrete floor.

Mastery in installing hardwood over concrete goes beyond simply laying planks; it’s about understanding the importance of each step. One of those critical steps is the proper installation of a moisture barrier. It serves as your hardwood flooring’s first defence against moisture damage. Consulting with experts can provide additional insights into your situation’s best practices.
Mastering the glue-down method for Hardwood Flooring on Concrete Slabs
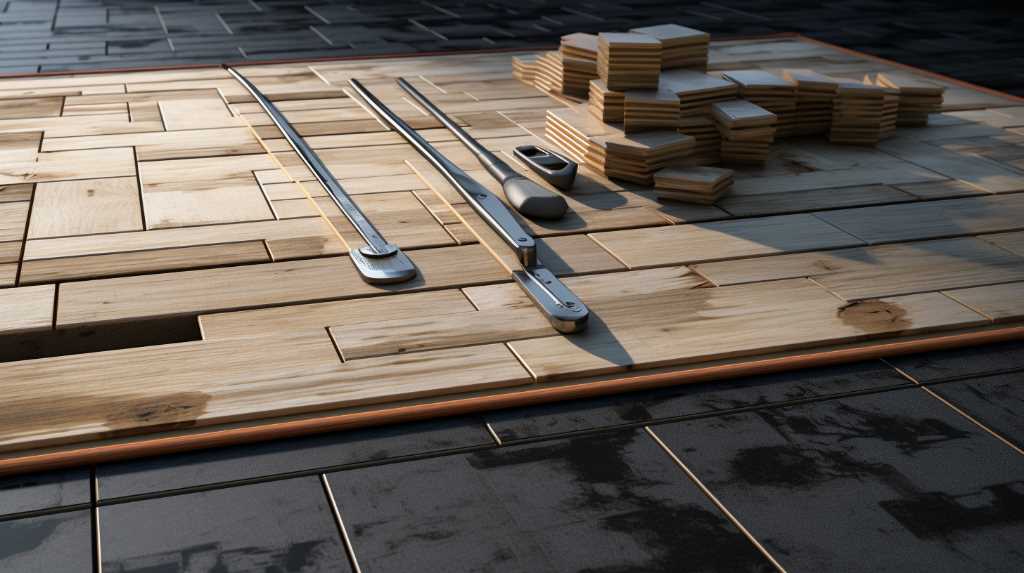
Are you curious about the glue-down method, a popular technique for installing hardwood flooring on concrete? This method involves securely bonding the hardwood directly to the concrete slab using a unique adhesive. This article will delve into installing flooring on a slab, weighing its pros and cons to provide a comprehensive and balanced view.
Glue Down Procedure
When installing hardwood flooring over concrete, it’s essential to understand the steps involved in the glue-down method. This comprehensive guide will take you through the process, ensuring you have the expertise needed for a successful installation.
Step 1: Preparing the Concrete Slab
Before starting the wood floor installation, properly preparing the concrete slab is crucial. Ensure it is clean, flat, and free of contaminants affecting the adhesive’s performance. This step lays the foundation for a smooth and durable hardwood floor.
Step 2: Choosing the Right Adhesive
Selecting the suitable adhesive for your hardwood flooring ensures a secure and long-lasting bond. Seek guidance from professionals who can recommend the most suitable adhesive for your specific flooring type and concrete conditions. Their expertise will help you make an informed choice.
Step 3: Installing a Moisture Barrier
Moisture-related issues can significantly impact the performance and lifespan of hardwood flooring over concrete. To prevent these problems, it’s crucial to install a moisture barrier. This barrier acts as a protective layer, safeguarding the hardwood from potential moisture damage.
Step 4: Applying the Adhesive
Once the concrete slab is prepared, and the moisture barrier is in place, it’s time to apply the adhesive. Achieving a thin and even spread of adhesive is crucial for a strong bond between the hardwood flooring and the concrete. Follow the manufacturer’s instructions and use the recommended tools for optimal results.
Step 5: Installing the Hardwood Flooring
With the adhesive applied, it’s time to start laying the hardwood flooring. Place each plank firmly onto the adhesive, ensuring a secure fit. Take time during this step to ensure precision and accuracy, as it will determine your hardwood floor’s overall quality and appearance.
Installing hardwood flooring over concrete using glue-down requires attention to detail and expertise. Rushing the installation process can lead to subpar results and potential issues. Take your time, follow the steps diligently, and seek professional advice when needed.
Following these guidelines, you can confidently tackle the glue-down procedure for hardwood flooring installation. Consider your flooring type’s requirements and recommendations, and consult professionals for additional guidance.

Method’s Pros and Cons
When it comes to installing hardwood flooring over concrete, the glue-down method has its advantages and disadvantages. Let’s dive into the pros and cons of this installation method to help you make an informed decision.
Pros
- Durability: The glue-down method offers a stable and durable floor, ensuring that your hardwood flooring will stand the test of time.
- Noise ReductionThis method, often used in wood floor installation, helps prevent noise caused by floor movement, providing a quieter and more peaceful living environment.
- Moisture Barrier: By using adhesive to glue the hardwood directly to the concrete, you create a moisture barrier that protects your floors from seepage, increasing their lifespan.
Cons
- Renovation Difficulty: It can be laborious and time-consuming if you ever need to remove the hardwood flooring glued down. This is something to consider if you anticipate any future renovation plans.
- Professional Installation Required: The glue-down method requires expertise and precision to ensure proper adhesion. It’s recommended to hire a professional installer to achieve the best results.
- Preparation Time: The concrete surface must be thoroughly prepared and cleaned before installing hardwood floors using the glue-down method. This step adds to the overall installation time.
You can determine if the glue-down method suits your needs by weighing these pros and cons. Remember, mastering installation methods is crucial for the longevity of your hardwood flooring.
Comprehensive Guide to Floating Method Installations on Concrete Subfloors
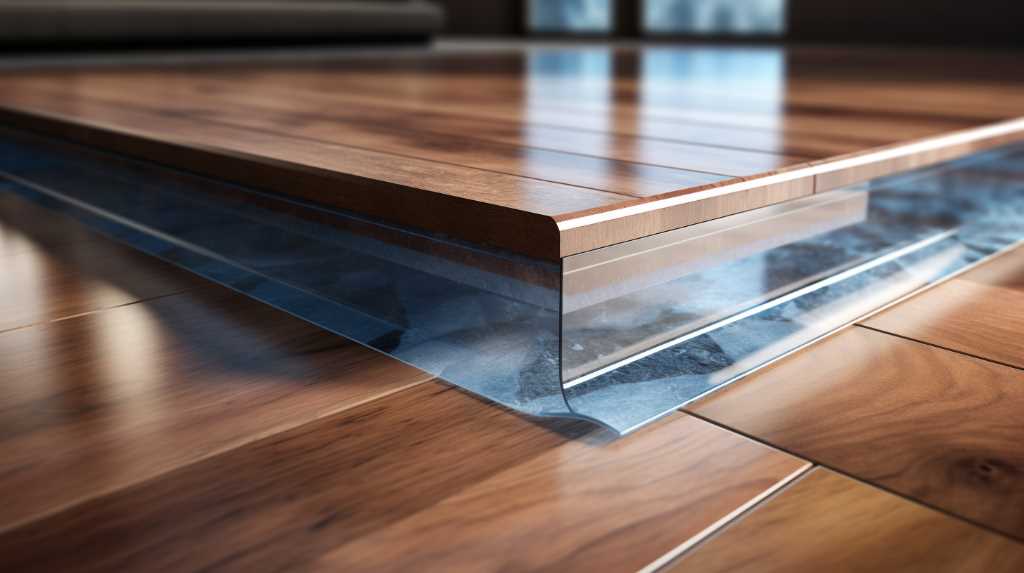
Installing hardwood flooring over concrete using the floating method is a straightforward and accessible task. This popular technique allows the hardwood planks to “float” above the concrete, secured through an interlocking mechanism.
To begin, it is essential to prepare the concrete surface properly. Ensure the concrete slab is flat, clean, and free of grease, dust, or stains.
Here is a step-by-step guide to the floating method installation:
- Lay a moisture barrier over the concrete slab before installing the new floor. This barrier is crucial to prevent moisture from seeping into your hardwood flooring.
- Start placing the engineered hardwood planks designed to resist moisture, making them ideal for this installation.
- Interlock the planks together. The floating method relies on this interlocking mechanism rather than glue or nails.
- Continue the process until the entire floor is covered.
- Finally, install the baseboards to hold the hardwood flooring in place and provide a finished look.
The floating method is preferred for its ease of installation. You don’t need to worry about gluing or nailing the hardwood flooring to the concrete slab. With some preparation and patience, you can achieve a professional-looking finish. Practice and mastery will make this task second nature to you.
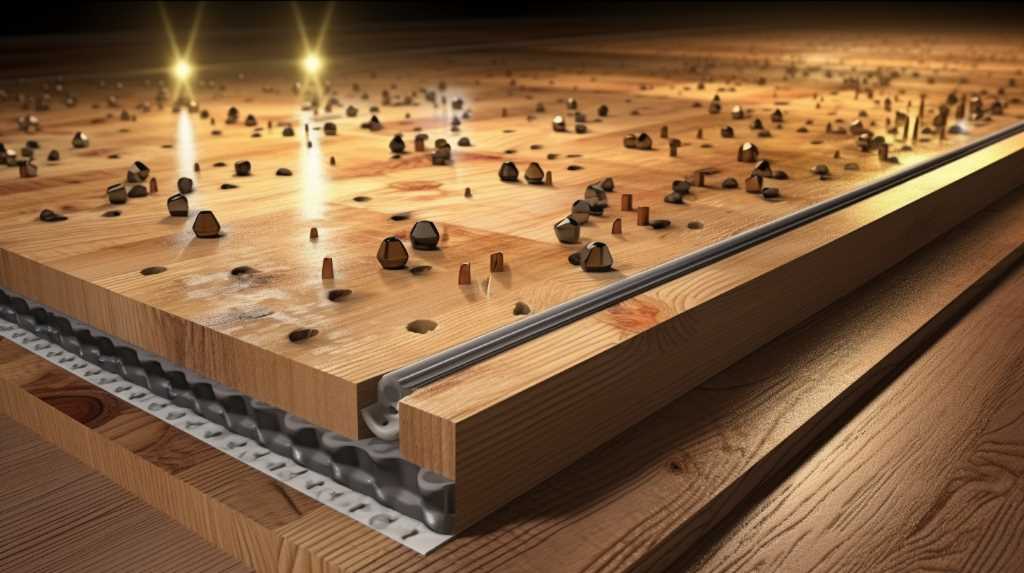
Step-by-Step Guide for Installing Hardwood on Concrete
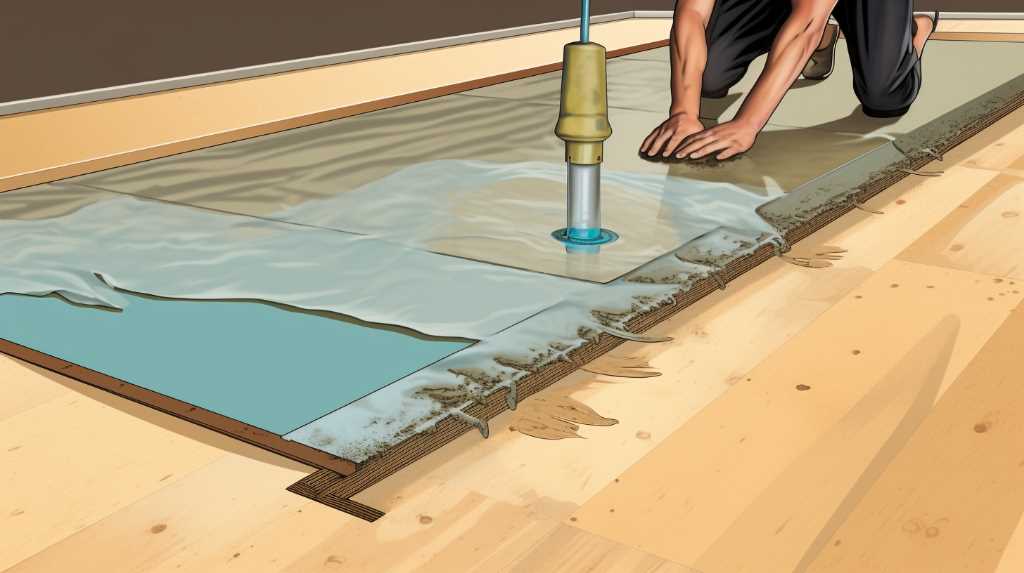
When it comes to installing hardwood flooring, it is imperative that you properly prepare your subfloor. Failure to do so can lead to a subpar and short-lived outcome. This article aims to provide comprehensive knowledge of the necessary steps for preparing your subfloor, guaranteeing a flawless and durable installation.
It is crucial to thoroughly clean the subfloor to remove dust, debris, or other imperfections. This ensures a smooth surface for the hardwood flooring to adhere to. Additionally, you should check for any existing damage or unevenness that may require repair before moving forward with the installation.
Next, it is essential to assess the moisture levels of your subfloor. Excessive moisture can cause the hardwood flooring to warp, buckle, or develop mould. Using a moisture meter, measure the moisture content of the subfloor and ensure it falls within the acceptable range specified by the manufacturer. If the moisture levels are too high, you may need to implement additional measures such as waterproofing or moisture barriers.
After addressing moisture concerns, you should proceed to level the subfloor if necessary. Uneven subfloors can cause the hardwood flooring to appear uneven and lead to premature wear and tear. Use a levelling compound or self-levelling underlayment to eliminate bumps or indentations, creating a level and stable surface for the hardwood flooring installation.
Another crucial step in subfloor preparation is acclimatizing the hardwood flooring. Wood is a natural material that expands and contracts with changes in temperature and humidity. It is essential to allow the flooring to adjust to the environment of the installation area. This typically involves storing the hardwood flooring in the room for a specified period before installation.
Installing an underlayment before laying the hardwood flooring is advisable. Underlayments provide additional cushioning, soundproofing, and moisture resistance. They also help to prevent squeaks and create a smoother surface for the hardwood flooring. Consult the manufacturer’s recommendations to determine the most suitable underlayment for your specific flooring.
Once the subfloor has been prepared, you can install the hardwood flooring. Follow the manufacturer’s instructions and utilize the appropriate tools and techniques. Take your time to ensure each plank is securely and uniformly installed, creating a visually appealing and durable floor.
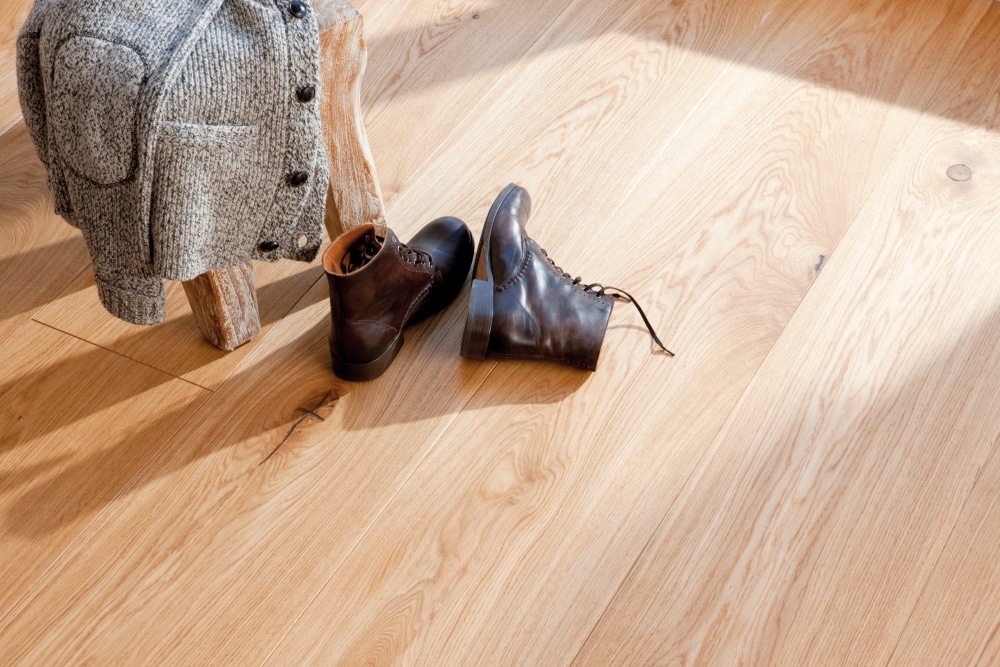
Thoroughly Clean the Concrete Surface
Before commencing any installation, starting with a pristine foundation is imperative. The initial phase of subfloor preparation entails cleaning the concrete surface thoroughly. It is essential to eliminate any traces of dirt, dust, or debris that could impede the process. Doing so guarantees a clean and smooth surface, free from any obstructions, serving as a solid base for your hardwood flooring.
After ensuring a clean slate, the next step in the installation process is to inspect the subfloor for any signs of damage. Conduct a thorough examination to identify any cracks, unevenness, or structural weaknesses that may require addressing. This step is crucial in ensuring the longevity and stability of your flooring. Identifying and rectifying any issues beforehand can prevent future complications and guarantee a seamless installation.
Apply a Moisture Barrier
Moisture can harm hardwood flooring, causing it to warp or buckle over time. To protect your investment, it is crucial to apply a moisture barrier. This acts as a protective shield, preventing any potential water damage from reaching your new hardwood floor. Be sure to choose a moisture barrier compatible with your specific subfloor type.
By following these two necessary steps, you are setting the stage for a successful hardwood flooring installation. Not only will your floors look beautiful, but they will also last for years.
Remember to use high-quality materials and follow manufacturer guidelines for best results. Also, consult a professional if you have doubts or concerns about your subfloor preparation.
Subfloor preparation is a critical aspect of hardwood flooring installation. By ensuring a clean and moisture-free base, you are setting yourself up for success. Prepare your subfloor correctly, and you’ll enjoy the benefits of beautiful, long-lasting hardwood floors.
Best Practices for Hardwood Flooring Installation
For optimal results, acclimate the hardwood planks to your home’s environment for several days before installation. This reduces the risk of expansion or contraction post-installation. Follow manufacturer guidelines for adhesive and subfloor materials. During installation, leave a small expansion gap around the room’s perimeter to allow the wood to expand without buckling.

Preparing the Concrete Surface for Installation
Proper preparation of the concrete surface is crucial. Clean the concrete thoroughly, removing any dirt, grease, or old adhesive: repair cracks or uneven areas with a concrete filler. Ensure the surface is completely dry before proceeding. Sanding the concrete might be necessary to create a smooth, level base for the subfloor and hardwood.
To ensure a successful cleaning process, here are the steps to follow:
- Begin by carefully scraping off any visible debris or stains on the concrete surface. This step will help eliminate any loose particles interfering with the cleaning process.
- Utilize a high-quality concrete cleaner to tackle stubborn stains and residues. Choose a cleaner specifically formulated for concrete surfaces to ensure effective results. This will help lift and dissolve any deep-seated dirt or grime.
- After applying the cleaner, rinse the surface thoroughly to remove any remaining cleaner or residue. This step is crucial to prevent any potential chemical reactions or interference with the hardwood installation process.
- If moisture is a concern, consider applying a moisture barrier to the concrete surface. Moisture can negatively affect the hardwood flooring, so taking precautions to minimize its impact is essential. A moisture barrier will help create a protective layer between the concrete and the hardwood.
- Allow the surface to dry completely before proceeding with the hardwood flooring installation. This step is crucial to ensure a stable and secure foundation for your hardwood flooring. Moisture trapped beneath the surface can lead to warping or damage to the hardwood over time.
Remember, a clean and well-prepped concrete surface is the key to a successful hardwood flooring installation. Following these steps, you can ensure your concrete surface is ready to support your new hardwood floors.
Applying Moisture Barrier
A moisture barrier is crucial to ensure longevity when preparing your concrete surface for hardwood flooring. A widely accepted and effective option for this purpose is a polyethylene film. This film is a reliable barrier against excess vapour, protecting your hardwood floor from potential moisture damage.
To apply the moisture barrier, thoroughly clean and dry the concrete surface. Once it’s clean and dry, carefully unroll the polyethylene film over the concrete, ensuring complete coverage. It’s important to overlap the seams by at least 6 inches and securely tape them together. This meticulous step prevents moisture from seeping through the concrete and reaching your hardwood flooring. Various studies and best practices in the construction industry have affirmed the effectiveness of polyethylene film as a moisture barrier. Furthermore, the National Wood Flooring Association recommends specific techniques for moisture barrier application to optimize protection against moisture-related issues in hardwood flooring installations.
Applying a moisture barrier correctly protects your hardwood floor from potential damage caused by moisture conditions. This not only enhances the longevity of your flooring but also adds an extra layer of protection to the subfloor.
When considering the application of a moisture barrier, it’s important to weigh different perspectives and make an informed decision. While a polyethylene film is widely accepted, you may explore alternative moisture barrier materials or methods that align with your specific needs and preferences.
Maintenance Tips for Hardwood Floors on Concrete
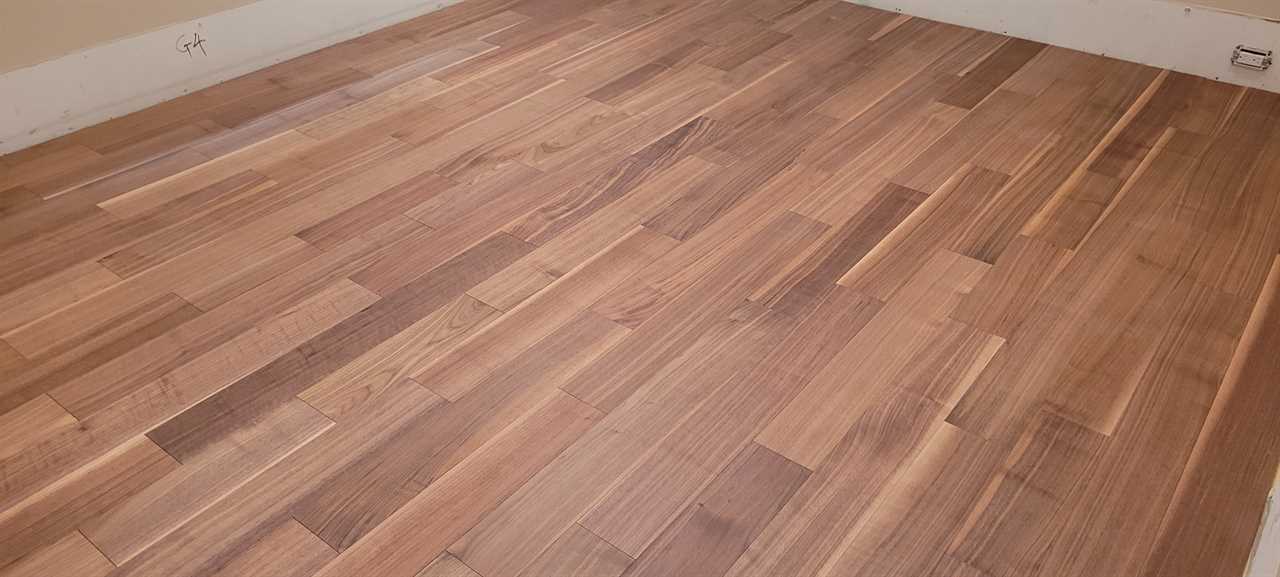
To maintain hardwood floors on concrete, it is essential to regularly clean and sweep the surface to remove dirt and debris that can scratch and damage the wood. Additionally, using a soft-bristled broom or vacuum cleaner will help prevent any potential scratches or scrapes caused by abrasive materials. It is also recommended to avoid using excess water on concrete when cleaning hardwood floors, as moisture can seep into the concrete and cause damage to both the flooring and the concrete below. Instead, opt for a damp mop or a microfiber cloth to gently clean the surface without saturating it.
Another maintenance tip for hardwood floors on concrete is to protect the flooring from direct sunlight. Prolonged exposure to sunlight may cause fading and discoloration of the wood, so it is essential to use curtains, blinds, or window coverings to minimize the amount of sun that reaches the floor. Additionally, placing rugs, furniture pads, or mats in high-traffic areas can help prevent wear and tear on the hardwood flooring. These protective measures will help preserve the beauty and condition of the hardwood floors over time.
Regularly inspecting hardwood floors on concrete is crucial to identify any signs of damage or wear early on. Look for cracks, gaps, or loose boards and address them promptly to prevent further deterioration. It is also essential to watch for signs of water damage, such as warping or buckling of the wood. If any issues are detected, consult a professional to assess and repair the hardwood floors to avoid potential hazards or further damage.
Applying a protective finish or sealant to hardwood floors on concrete can help extend their lifespan and enhance their durability. A quality finish can protect against stains, spills, and scratches, making it easier to clean and maintain the flooring following the manufacturer’s instructions when applying or reapplying a finish is recommended, as different products may have specific application methods and drying times.
Hardwood floors installed on concrete can face humidity-related issues, including expansion or contraction of the wood due to changes in moisture levels. Maintaining a consistent indoor humidity level between 35% and 55% is crucial to mitigate these effects. Depending on the climate and season, using a humidifier or dehumidifier can help regulate moisture levels in the air, thus preventing excessive changes that could affect the hardwood flooring.
Here are some sources for further reading on this topic:
- Bostik’s Blog on Moisture Issues discusses common moisture problems across all flooring types, including how moisture and vapour can damage flooring when driven through concrete slabs and subfloors.
- The exact Bostik Blog also highlights that wood flooring is particularly susceptible to water damage from both excess and insufficient moisture, leading to warping, cupping, and discoloration of the wood.
- The Bostik Blog suggests methods to manage moisture on flooring, such as regular checks using a moisture meter, maintaining proper indoor humidity levels, and using moisture mitigation or vapour suppression technology during installation.
In the event of spills or accidents on hardwood floors or concrete, it is essential to clean them immediately to prevent any potential damage or staining. Use a soft cloth or paper towel to blot the spill gently, avoiding rubbing or scrubbing, which can spread the liquid. It is recommended to use a specially formulated hardwood floor cleaner or a mild soap diluted in water for deeper cleaning, following the product instructions and avoiding excessive moisture.
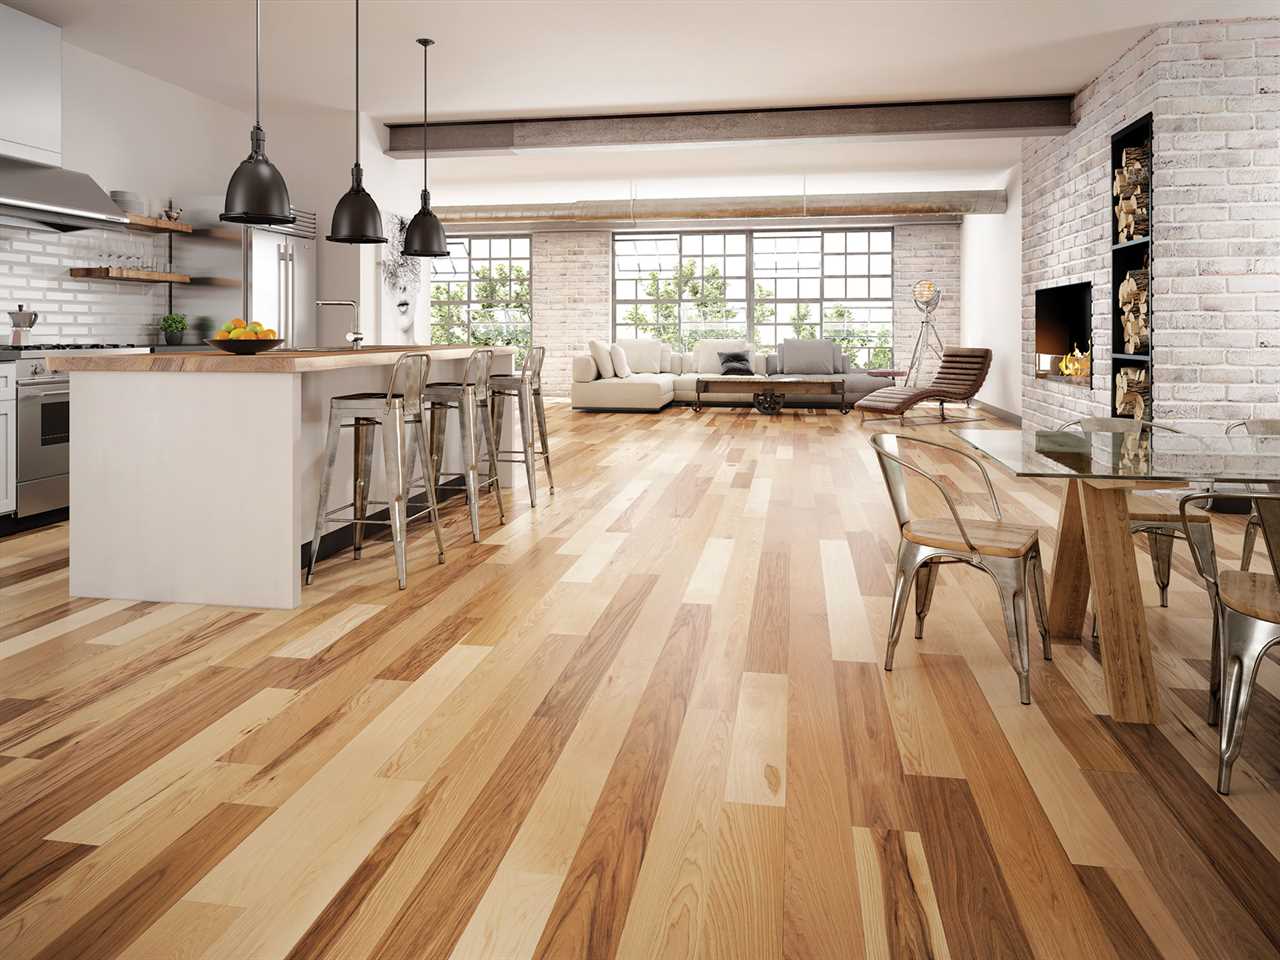
Preserving Your Hardwood Floors: Routine Care Tips
Regular sweeping or vacuuming keeps dirt and grit from scratching the surface. Clean spills immediately to prevent water damage. Use manufacturer-recommended cleaners, avoiding harsh chemicals. Place mats at entrances and use furniture pads to prevent scratches. Periodic refinishing keeps the floors looking new.
Addressing Common Issues in Hardwood Flooring Maintenance
Common issues include scratches, dents, and fading. For minor scratches, use a touch-up kit. For more profound damage, planks might need to be replaced. To prevent fading, use window treatments to limit direct sunlight. Regular maintenance and prompt repair extend the life and beauty of your hardwood floors.
Understanding the Vital Role of Underlay in Installing Solid Hardwood Floors on Concrete
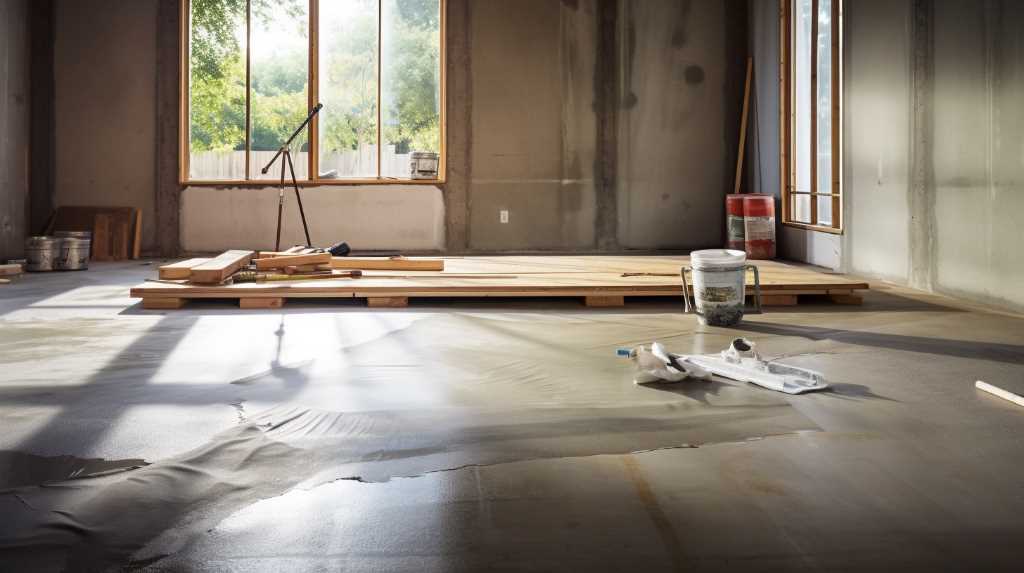
When installing hardwood flooring over concrete, underlay plays a vital role that should not be overlooked. It is an indispensable buffer, safeguarding the wood from direct contact with the harsh concrete base. But underlay does much more than create a physical barrier; it ensures the longevity of your hardwood flooring.
Underlay serves multiple purposes that contribute to the overall success of your hardwood floor installation. Firstly, it acts as a moisture barrier, preventing dampness from seeping up from the concrete into the wood subfloor. This is crucial because moisture can cause significant damage to hardwood flooring.
Underlay provides a cushioning layer that protects the wood from any moisture-related damage. It helps maintain the integrity of the wood, preventing it from warping or buckling due to moisture exposure. Additionally, underlay aids in moisture testing the solid hardwood flooring and the subfloor during a floor installation project, which is a crucial step for proper installation.
Underlay allows for a smoother, more level surface on the concrete. This is important because it provides a stable base for the layers of plywood and hardwood to be installed on. Without underlay, the unevenness of the concrete can result in an uneven and unstable floor.
Underlay plays a pivotal role in sound insulation. It reduces noise transmission through the floor, creating a quieter and more comfortable living environment. This is especially beneficial for multi-story buildings or rooms where soundproofing is desired.
When selecting underlay for your hardwood flooring project, it’s essential to consider the specific needs of your installation. If you’re installing hardwood flooring over concrete, look for an underlay designed explicitly for this purpose. It should be thick enough to provide adequate cushioning and moisture protection but not so thick that it makes installation difficult.
Underlay is an add-on and a vital component of your floor. By choosing the suitable underlay and ensuring it is correctly attached to the concrete, you can significantly extend the lifespan of your hardwood floor. So, don’t underestimate the importance of underlay in your quest for a beautiful and durable floor.
Frequently Asked Questions
Can You Install a Hardwood Floor Directly on Concrete?
Installing hardwood directly on concrete is possible, but it’s important to consider moisture concerns. To ensure a successful installation, you must focus on proper concrete preparation, selecting the right hardwood, making adhesive choices, and using appropriate installation techniques. Additionally, post-installation care plays a crucial role in maintaining the longevity and appearance of your hardwood floor.
What Must Be Done Before Wood Flooring Is Applied Over Concrete?
Before applying wood flooring over concrete, it is essential to take specific steps to ensure a successful installation. Moisture considerations must be addressed, the concrete should be prepped properly, and a subfloor may need to be installed depending on the situation. Additionally, selecting suitable flooring options is crucial for long-term durability and aesthetics.
What Is the Best Type of Wood Flooring to Put Over Concrete?
Engineered hardwood is the top choice when choosing the best wood flooring over concrete. It offers durability, moisture resistance, and cost-effectiveness. However, it’s essential to consider different installation methods and prepare the concrete properly. Additionally, sustainability should be taken into account when selecting your flooring option. Consulting professionals is always recommended to ensure a proper fit and installation.
Where Not to Install Hardwood Floors?
When installing hardwood floors, it’s essential to consider where they are most suitable. While hardwood floors are a popular choice for many areas of the home, there are certain places where they may not be the best option. This article will explore the areas where you should avoid installing hardwood floors and discuss the reasons behind these considerations.
Choose Canadian Home Style for your Vancouver Hardwood flooring projects.
Canadian Home Style is your family-owned and operated flooring retailer with a showroom in North Vancouver, BC. We provide full-service commercial and residential flooring solutions across the Lower Mainland with an extended warranty. We are proud BC Floor Covering Association (BCFCA) and the National Wood Flooring Association (NWFA) members. In addition, we have won the Consumer’s Choice Awards back-to-back in 2021, 2022,2023 and 2024 for our commitment to business excellence. We are considered the highest-rated flooring experts in Metro Vancouver. We pride ourselves on holding the highest standards in the flooring industry. We have a strict policy of “not selling or displaying any products we wouldn’t want in our homes to uphold our high standards.” Before we select a product to feature, we carefully assess product quality, off-gassing, warranties, and responsible sourcing. Book now to visit our North Vancouver flooring showroom; we can help you choose the perfect floor for your home or business.
Our mission is to help homeowners create beautiful homes that reflect their lifestyles while reducing energy consumption and conserving resources. We provide our clients with innovative products, services and education. Our vision is to become Canada’s leading sustainable flooring solutions provider. Our values include integrity, respect, honesty and transparency. These principles guide us as we strive to provide outstanding customer service.
We believe that our success depends on the success of our clients and their customers. We work hard to ensure our clients get the most out of their investments. Our team consists of highly skilled professionals who are experts in their field. They have years of experience working together and know what works and what doesn’t. They understand how to solve problems quickly and efficiently. We are committed to providing excellent customer service. We listen carefully to our client’s concerns and suggestions. We take these into account when planning and executing projects. We always strive to exceed expectations.
Award-Winning Flooring Solutions in North Vancouver
Canadian Home Style, celebrated for its exceptional flooring services, provides tailored solutions that reflect your style and meet your specific needs. Our expertise in hardwood flooring installation over concrete is backed by our awards and customer reviews, emphasizing our commitment to quality and customer satisfaction.
Why Choose Canadian Home Style for Your Flooring Needs
Choosing Canadian Home Style means partnering with a trusted, award-winning flooring expert in North Vancouver. Our team’s craftsmanship, attention to detail, and dedication to sustainability make us a top choice for homeowners. We pride ourselves on offering a wide range of high-quality flooring options, each backed by our excellence and customer satisfaction guarantee.
Services We Offer:
Main Areas of Service in British Columbia:
| Entity Name | Description | Source |
|---|---|---|
| Hardwood | Hardwoods are a type of wood that comes from dicot trees. These trees are characterized by broad leaves, and they usually grow in temperate climates. Hardwoods are known for their durability and are commonly used in furniture, flooring, and construction. | Source |
| Wood | Wood is a natural, organic material traditionally used in construction and manufacturing. It’s derived from the trunks and branches of trees and has a complex structure. Wood is valued for its strength, versatility, and aesthetic appeal. | Source |
| Adhesive | Adhesives are substances applied to surfaces to bind them together and resist separation. They can be natural or synthetic and are used in various industries, including construction, woodworking, and manufacturing. | Source |
| Plywood | Plywood is an engineered wood product made from thin layers of wood veneer glued together. It’s known for its strength, flexibility, and resistance to cracking and warping, making it popular in construction and furniture making. | Source |
| Humidity | Humidity refers to the concentration of water vapor present in the air. It plays a significant role in weather, climate, and the comfort of living environments. Humidity levels also affect various materials, including wood. | Source |
| Natural Rubber | Natural rubber is a polymer of isoprene, harvested in the form of latex from certain trees. It’s highly valued for its elasticity, resistance to abrasion, and waterproof qualities, and is used in a wide range of products, including tires and medical devices. | Source |
| Shim (spacer) | A shim is a thin piece of material, often used as a spacer to fill small gaps or spaces between objects. Shims are used in a variety of applications, including construction and manufacturing, to ensure precise alignment or fit. | Source |
| Bleach | Bleach is a chemical compound used to whiten fabrics and remove stains through the process of oxidation. It’s also used as a disinfectant due to its ability to kill bacteria, viruses, and fungi. | Source |
| Wood Flooring | Wood flooring is a popular flooring option made from timber, designed for aesthetic and structural purposes. It comes in various styles, colors, and finishes and can be installed in numerous patterns, enhancing the visual appeal of interiors. | Source |
| Aesthetics | Aesthetics is a branch of philosophy that deals with the nature of beauty, art, and taste. It explores how individuals perceive and appreciate beauty in various forms, including art, nature, and everyday objects. | Source |
| Do it yourself | “Do it yourself” (DIY) refers to the practice of building, modifying, or repairing things without the direct aid of professionals. It’s a popular culture of crafting, home improvement, and customization, often driven by creativity and cost-saving. | Source |

